The EMC SMI-S Provider acts like a proxy between vScope and your EMC VNX or Clariion array. The provider translates data from the array into a unified format based on CIM classes.
vScope connects to the SMI-S provider and reads the CIM classes provided by it. The SMI-S provider listens on port 5988 (HTTP) and 5989 (HTTPS) by default so wherever you choose to install the provider, make sure that these ports are not in use by another application and make sure that firewalls between vScope and the SMI-S provider allow for traffic on these ports.
Download the EMC SMI-S Provider or Solutions Enabler (contains SMI-S provider) from the EMC website.
You can install the SMI-S provider on the same machine as vScope. This is the setup we will use in this guide.
There are two ways the SMI-S provider can detect a SAN array. In-band and out-of-band.
- In-band – There is at least one LUN from the SAN presented to the same machine that the SMI-S provider is running. The provider will detect these arrays automatically.
- Out-of-band – Uses IP-connectivity to the array to detect it. This is the method we will use in this guide.
If you have installed the SMI-S provider or Solutions Enabler on the same machine as vScope then proceed below with the configuration.
Configuring the SMI-S provider
There is a tool included to list or add SAN arrays in the SMI-S provider:
On Windows, the TestSmiProvider.exe resides in C:\Program Files\EMC\ECIM\ECOM\bin
On Linux, TestSmiProvider resides in: /opt/emc/ECIM/ECOM/bin
Connect the SMI-S provider to a SAN array
On the machine you installed the SMI-S provider, run testsmiprovider and log in using the default credentials. Use your username or password if you have changed them during the installation.
C:\Program Files\EMC\ECIM\ECOM\bin>TestSmiProvider.exe

Connection Type (ssl,no_ssl,native) [no_ssl]:

Host [localhost]:

Port [5988]:

Username [admin]:

Password [#1Password]:

Log output to console [y|n (default y)]:

Log output to file [y|n (default y)]:

Logfile path [Testsmiprovider.log]:

Connecting to localhost:5988

Using user account 'admin' with password '#1Password'
######################################################################

##                                                                  ##

## EMC SMI Provider Tester                                          ##

## This program is intended for use by EMC Support personnel only.  ##

## At any time and without warning this program may be revised      ##

## without regard to backwards compatibility or be                  ##

## removed entirely from the kit.                                   ##

######################################################################
... command list here ...
######################################################################

Built with EMC SMI-S Provider: V4.6.2

Namespace: root/emc

repeat count: 1

(localhost:5988) ?
You are now connected to the SMI-S provider. List detected SAN arrays by using the command dv.
(localhost:5988) ? dv

++++ Display version information ++++

CIM ObjectManager Name: EMC:192.168.11.161

CIMOM Version: EMC CIM Server Version 2.7.3.3.0.8

SMI-S qualified version: 1.5.0

SMI-S Provider version: V4.6.2.3

SMI-S Provider Location: Proxy

SMI-S Provider Server:

Windows_NT myhost 6.2.9200 x86_64 VM Guest OS (64bit Libraries)

Solutions Enabler version: V7.6-1808 2.8

Retrieve and Display data - 1 Iteration(s) In 0.109345 Seconds

Please press enter key to continue…
In this case there are no SAN arrays listed so we will need to add one using the command addsys. You need the following information for the SAN array in order to add it successfully.
- The IP addresses of storage processors SPA and SPB of the SAN array that will be connected to the SMI-S provider
- The username and password of the SAN array that has administrator-level privileges with global scope
(localhost:5988) ? addsys

Add System {y|n} [n]: y

ArrayType (1=Clar, 2=Symm) [1]:

One or more IP address or Hostname or Array ID

Elements for Addresses

IP address or hostname or array id 0 (blank to quit): 192.168.1.100

IP address or hostname or array id 1 (blank to quit): 192.168.1.101

IP address or hostname or array id 2 (blank to quit):

Address types corresponding to addresses specified above.

(1=URL, 2=IP/Nodename, 3=Array ID)

Address Type (0) [default=2]:

Address Type (1) [default=2]:

User [null]: adminusername (your global admin here)

Password [null]: adminpassword

(OUTPUT)

++++ EMCAddSystem ++++

OUTPUT : 0

Legend:0=Success, 1=Not Supported, 2=Unknown, 3=Timeout, 4=Failed

5=Invalid Parameter, 4096=Job Queued, 4097=Size Not Supported

System : //192.168.1.100/root/emc:Clar_StorageSystem.CreationClassName="Clar_StorageSystem",Name="CLARiiON+FNM00394598432
The SAN array located at 192.168.1.100 (SPA) and 192.168.1.101 (SPB) is now added to the SMI-S provider.
If you now type dv again the SAN array you just added should be listed.
Add CIM User in the SMI-S provider
vScope needs credentials in order to connect to the SMI-S provider. These credentials are not the ones that the SMI-S provider uses to connect to the SAN array.
To create a CIM User on the EMC CIM Server which runs on the SMI-S provider you need to:
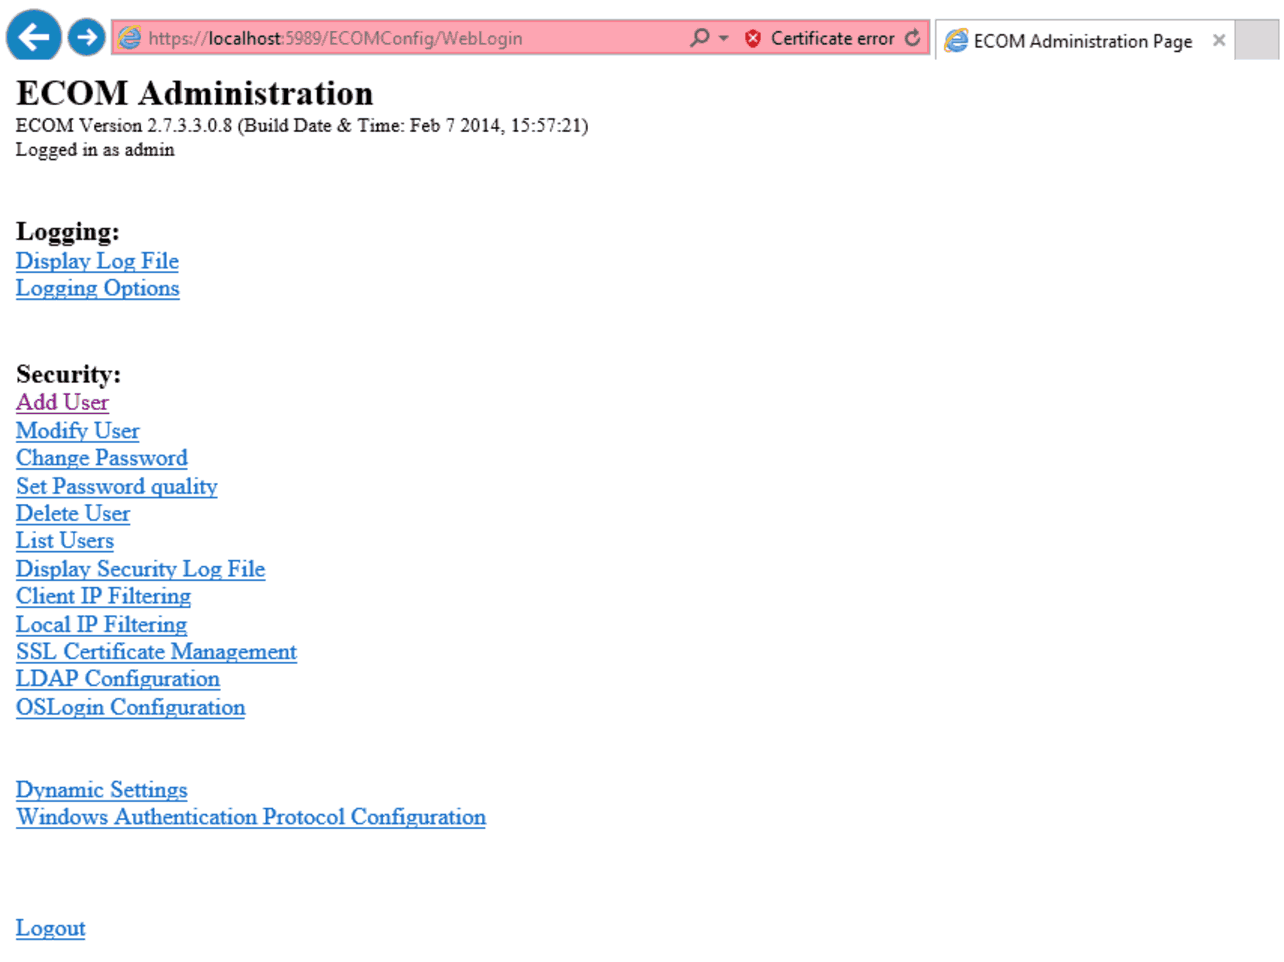
- Go to https://smi-provider-ip:5989/ecomconfig with a browser where smi-provider-ip is the IP of the machine where you installed the SMI-S provider. Log in using the username admin and the password #1Password. The same credentials you used with testsmiprovider.
- Click Add User and create a user with the role of Administrator. This user and password you create are the ones you should enter in vScope when creating a SMI-S credential. For reference, let’s name the user vscope and set password to vscope123.
Add SMI-S credential and target in vScope
Assuming you installed the SMI-S provider on the same machine as vScope you create a new target in vScope named localhost. If you installed the provider on any other machine, provide the IP to that machine.
For the added target, create a SMI-S credential using the username vscope and password vscope123 (or the combination you chose). Use port 5988 for HTTP or 5989 for HTTPS.
You should now be able to connect to your EMC SMI-S provider and scan your SAN. Please note that the SMI-S provider can be time consuming and can take up to 20 minutes in some cases. It is recommended that you provide vScope with at least 6GB of RAM when scanning your SAN through SMI-S.

